Primary Events Table
The Primary Events page allows to display a table with all the primary events of the selected systems.
To go to the Primary Events page, click on the Primary Events tab on the navigation bar.
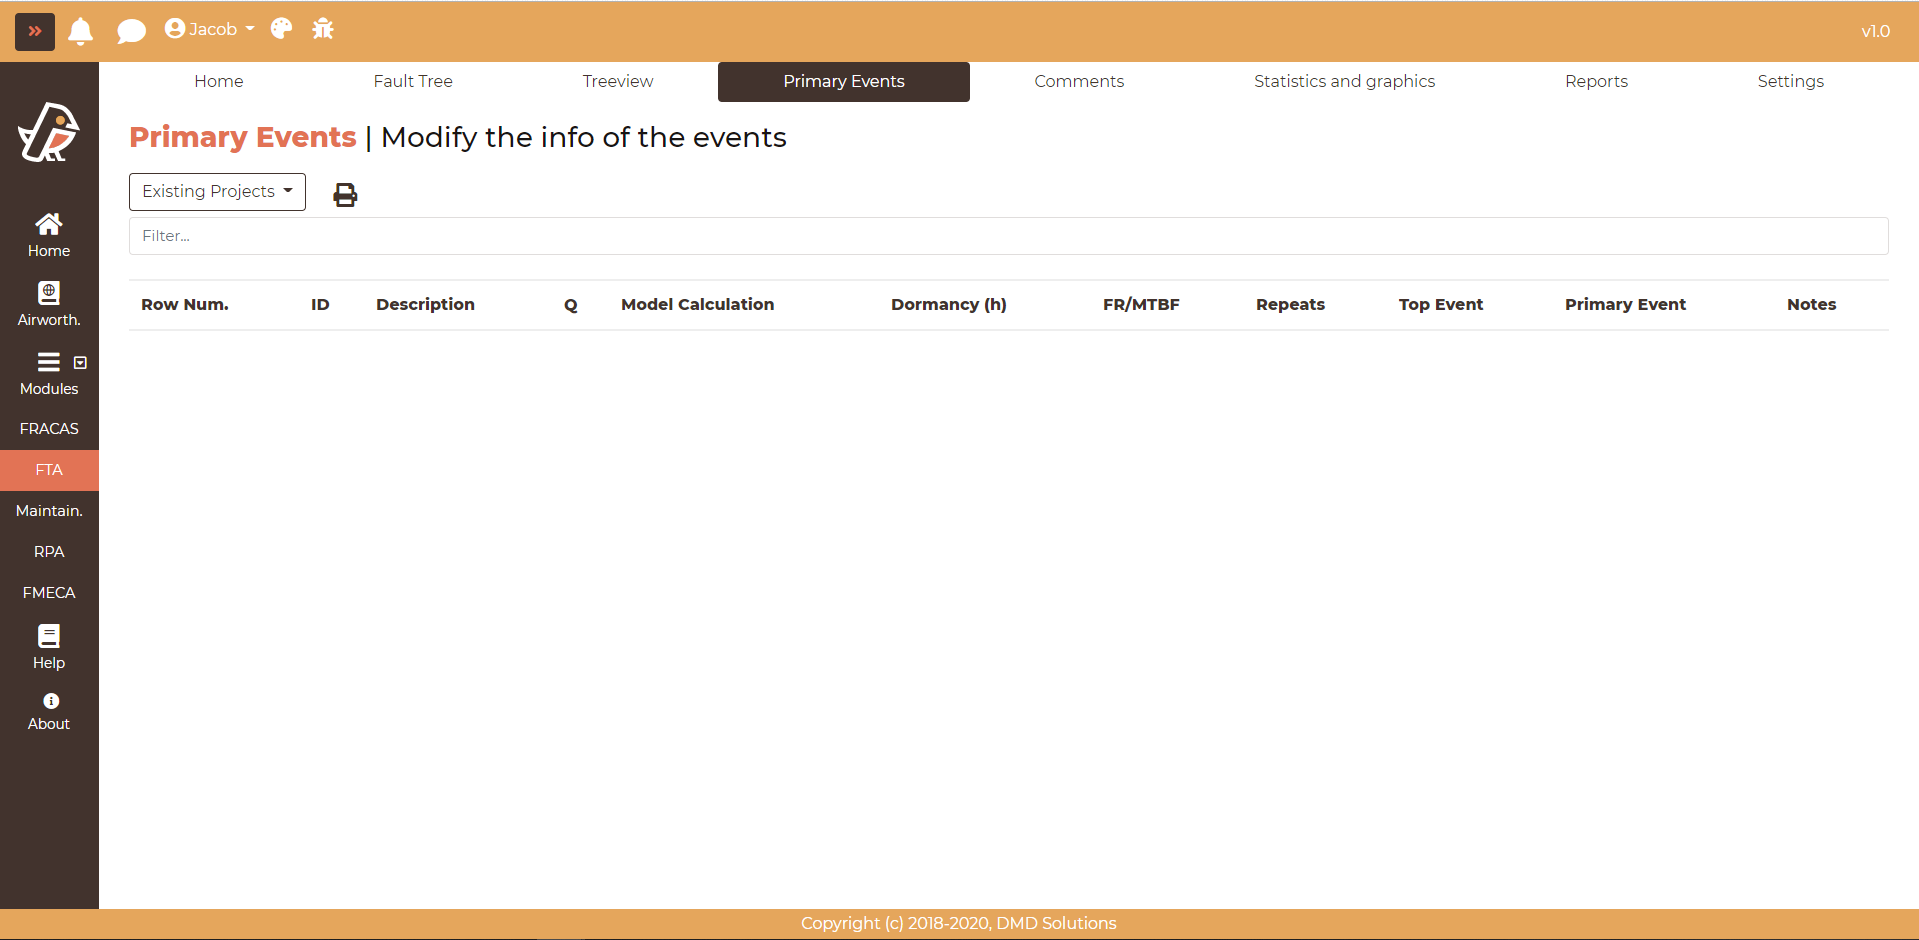
Three dropdowns, each one with its title on its left (Project:, Systems: and Top event:), choose what the table shows:
Project: By clicking on the
Existing Projectsdropdown, the available projects are shown. Choosing one loads the table with all the systems of that project (All systems), so it can be narrowed down afterwards with the systems dropdown.Systems: Shows the systems of the chosen project, each one with a checkbox, so several systems can be checked at once.
All systemschecks, or unchecks, all of them. The table follows the checked systems when the dropdown is closed. The dropdown shows the name of the checked system, how many systems are checked, orAll systems.Top event: Shows the fault trees of the checked systems, under the name of each system when there are several of them.
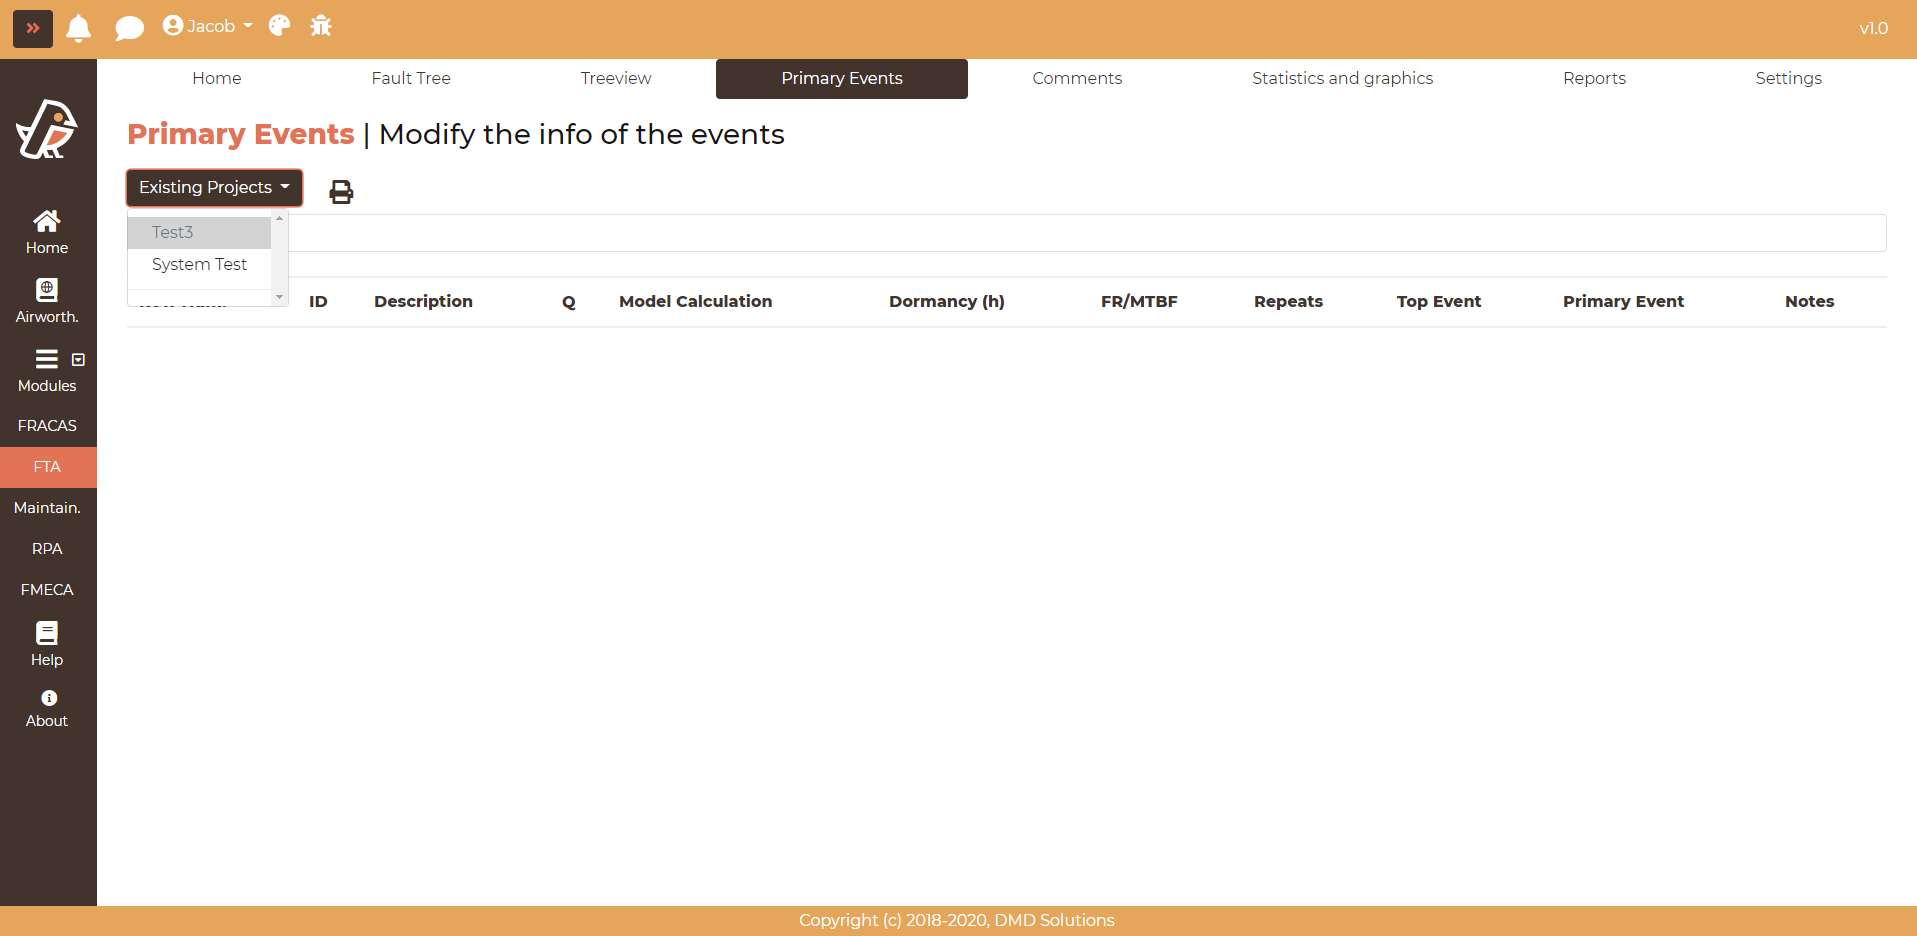
Click on Show all basic events to load all the primary events of the checked systems. Click on one fault tree to load only the primary events of the selected fault tree.
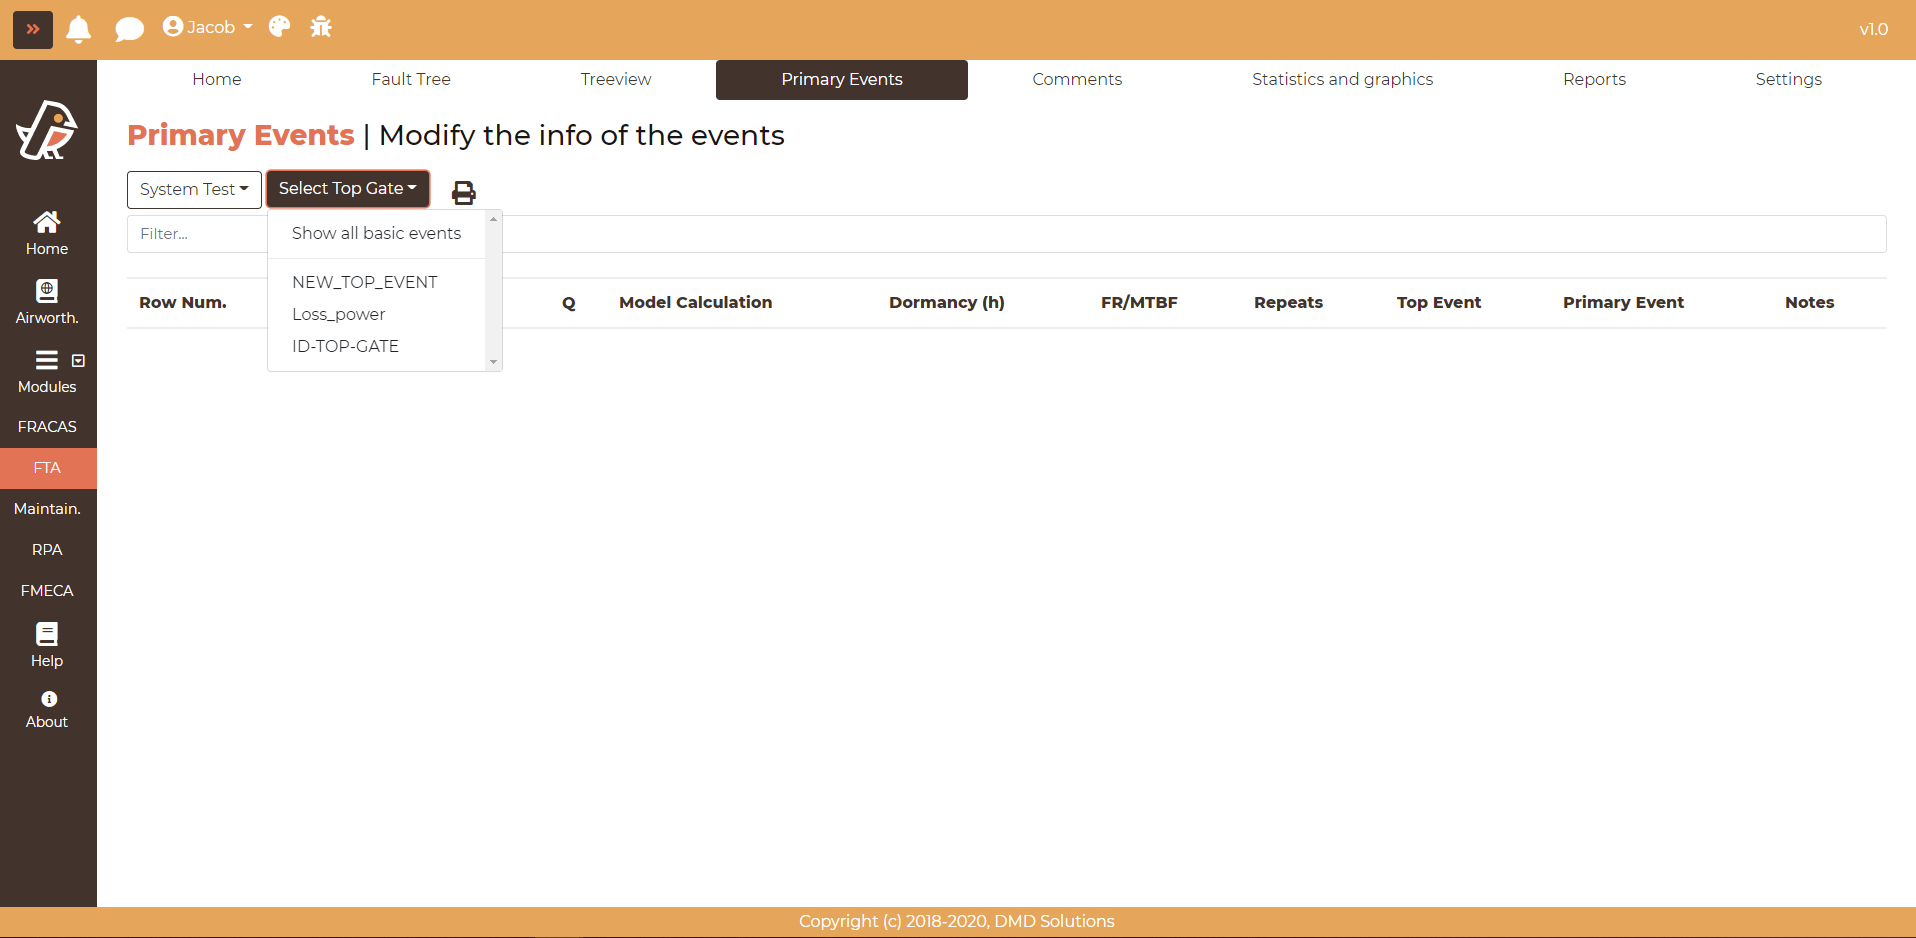
The Primary Event table is shown in the picture below.
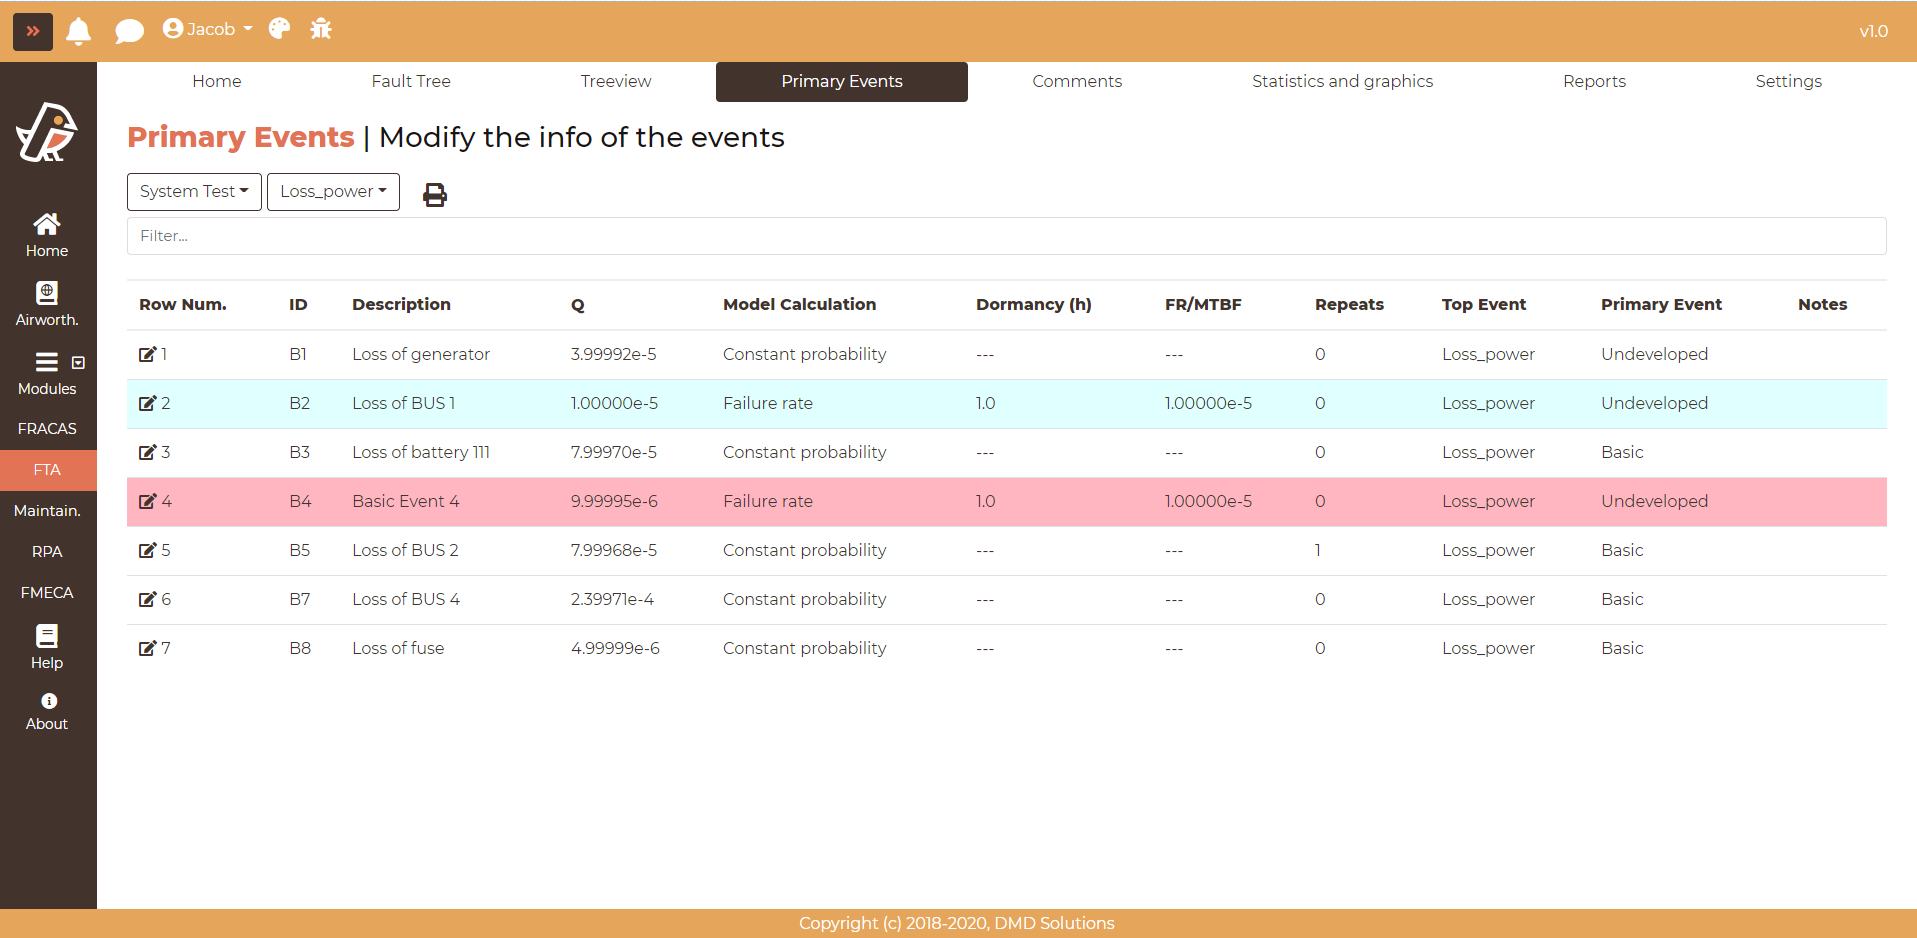
With the radio button Ungrouped and Grouped BE, it is possible to group nodes that share same id code. The events of the checked systems are grouped together: an event used in several systems shows the fault trees of all of them.
The checked systems, the chosen fault tree and the Grouped BE option are kept in the address of the page, so they stay as they are when the page is refreshed.
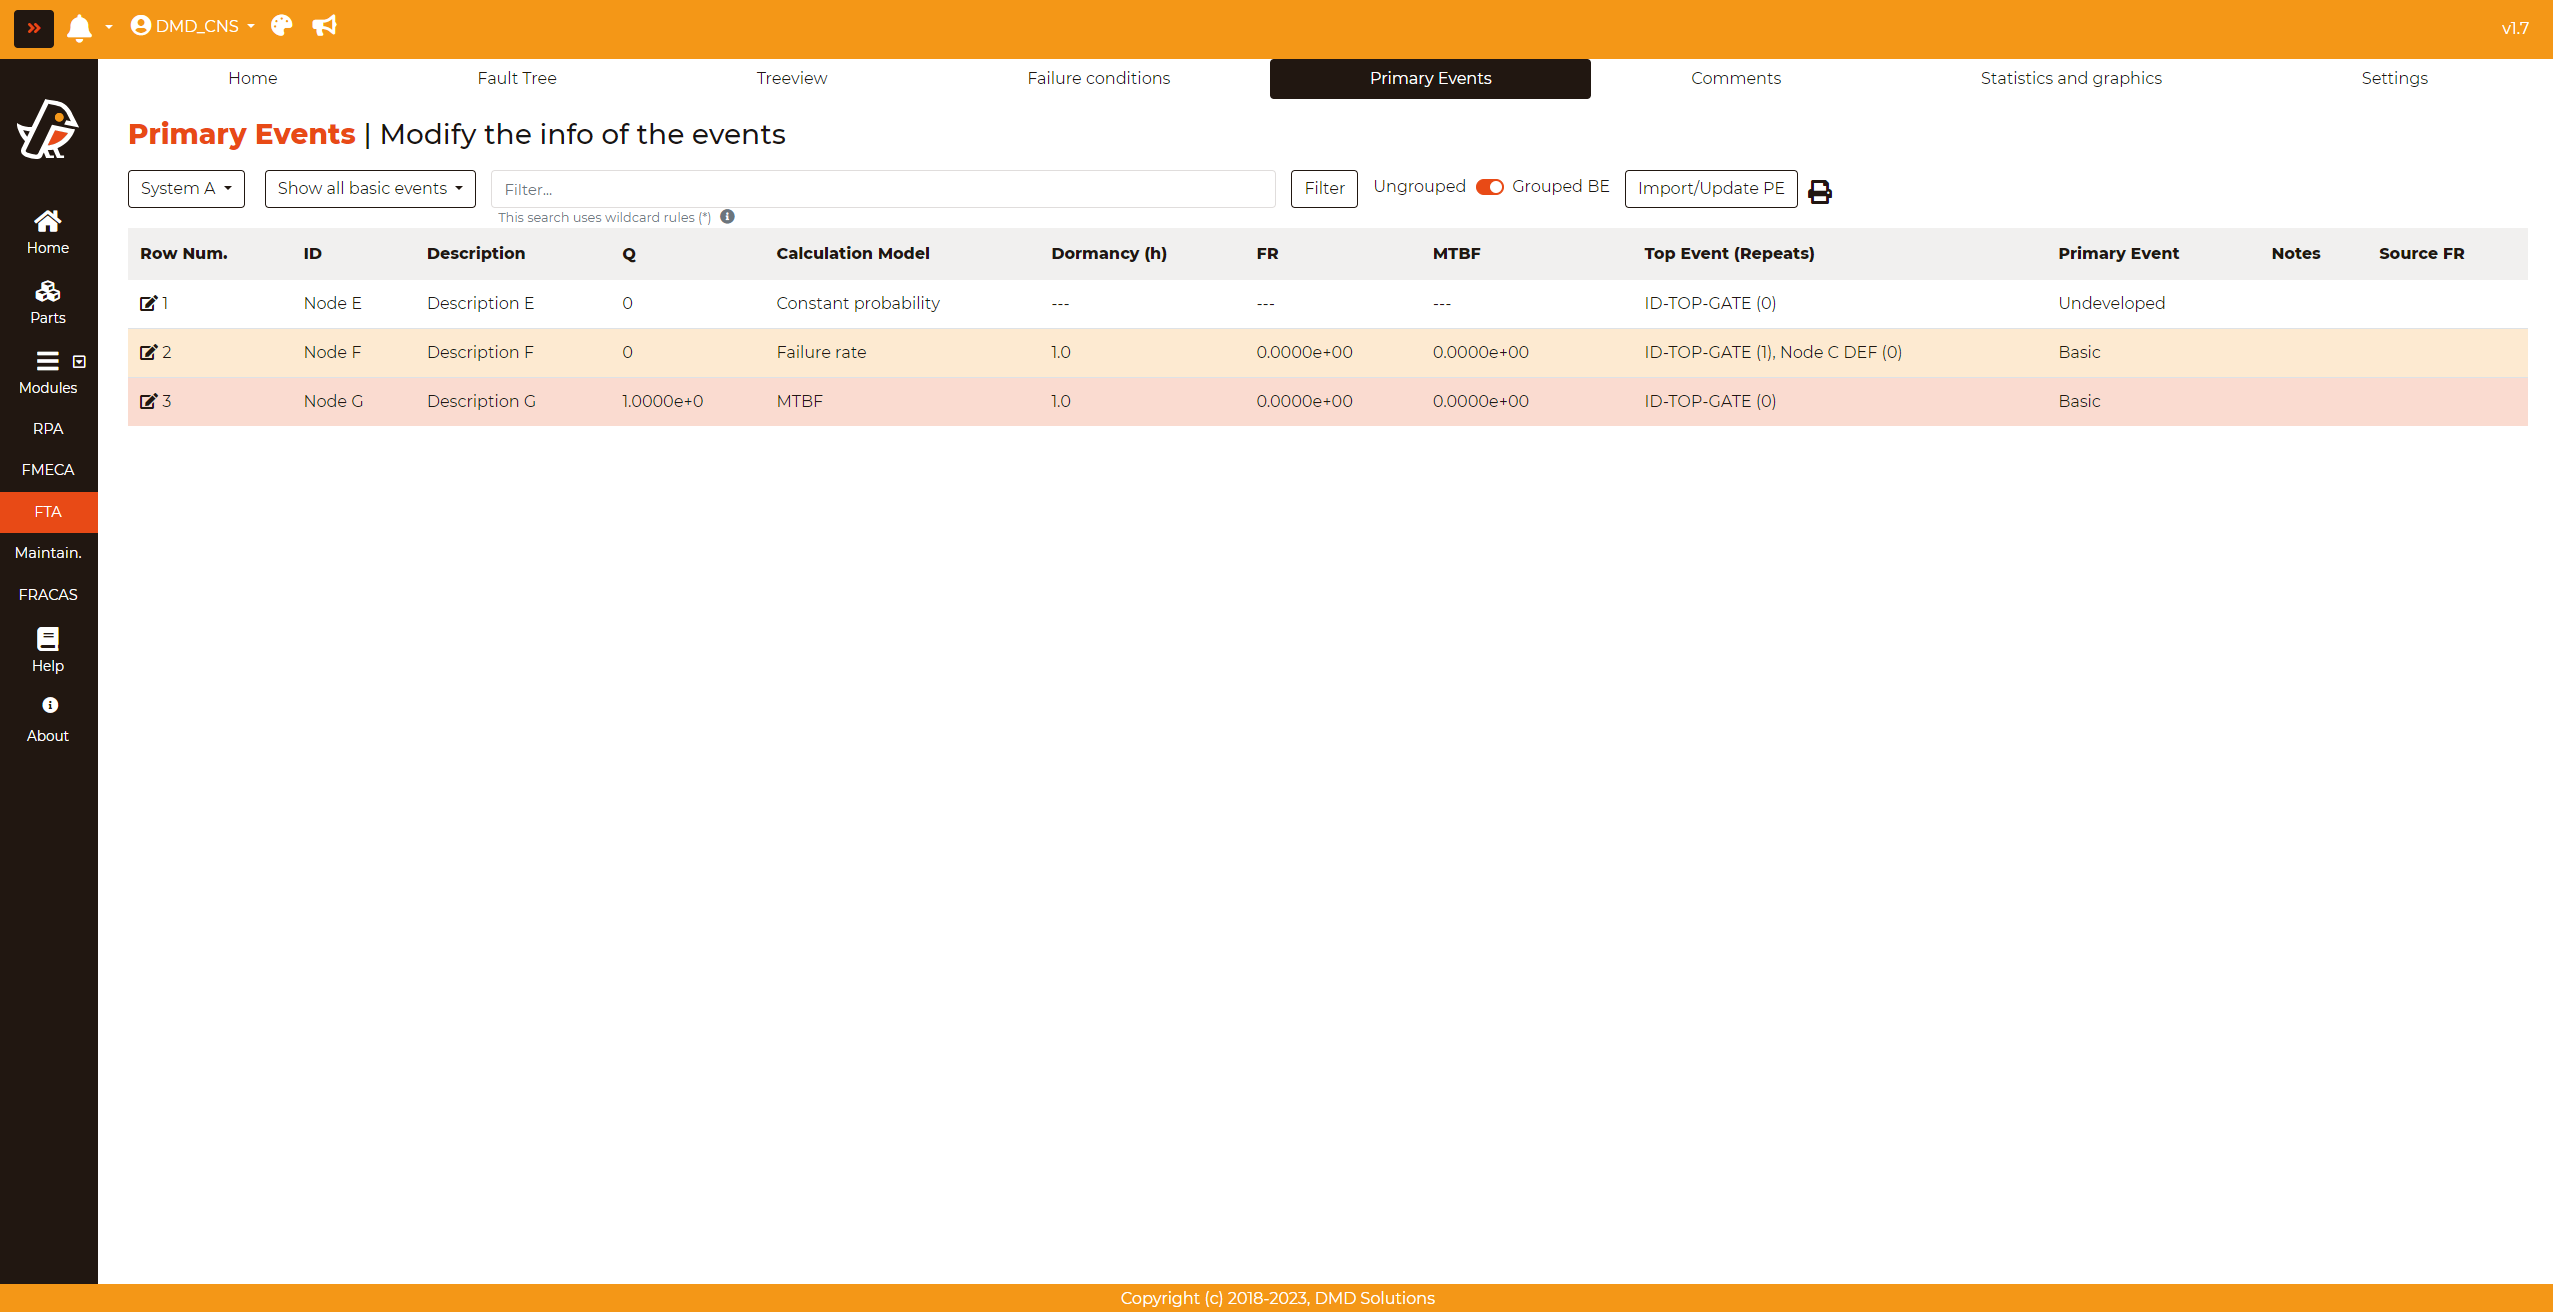
With the Unused events switch, the table shows only the primary events that do not belong to any fault tree. See Unused Events Filter below.
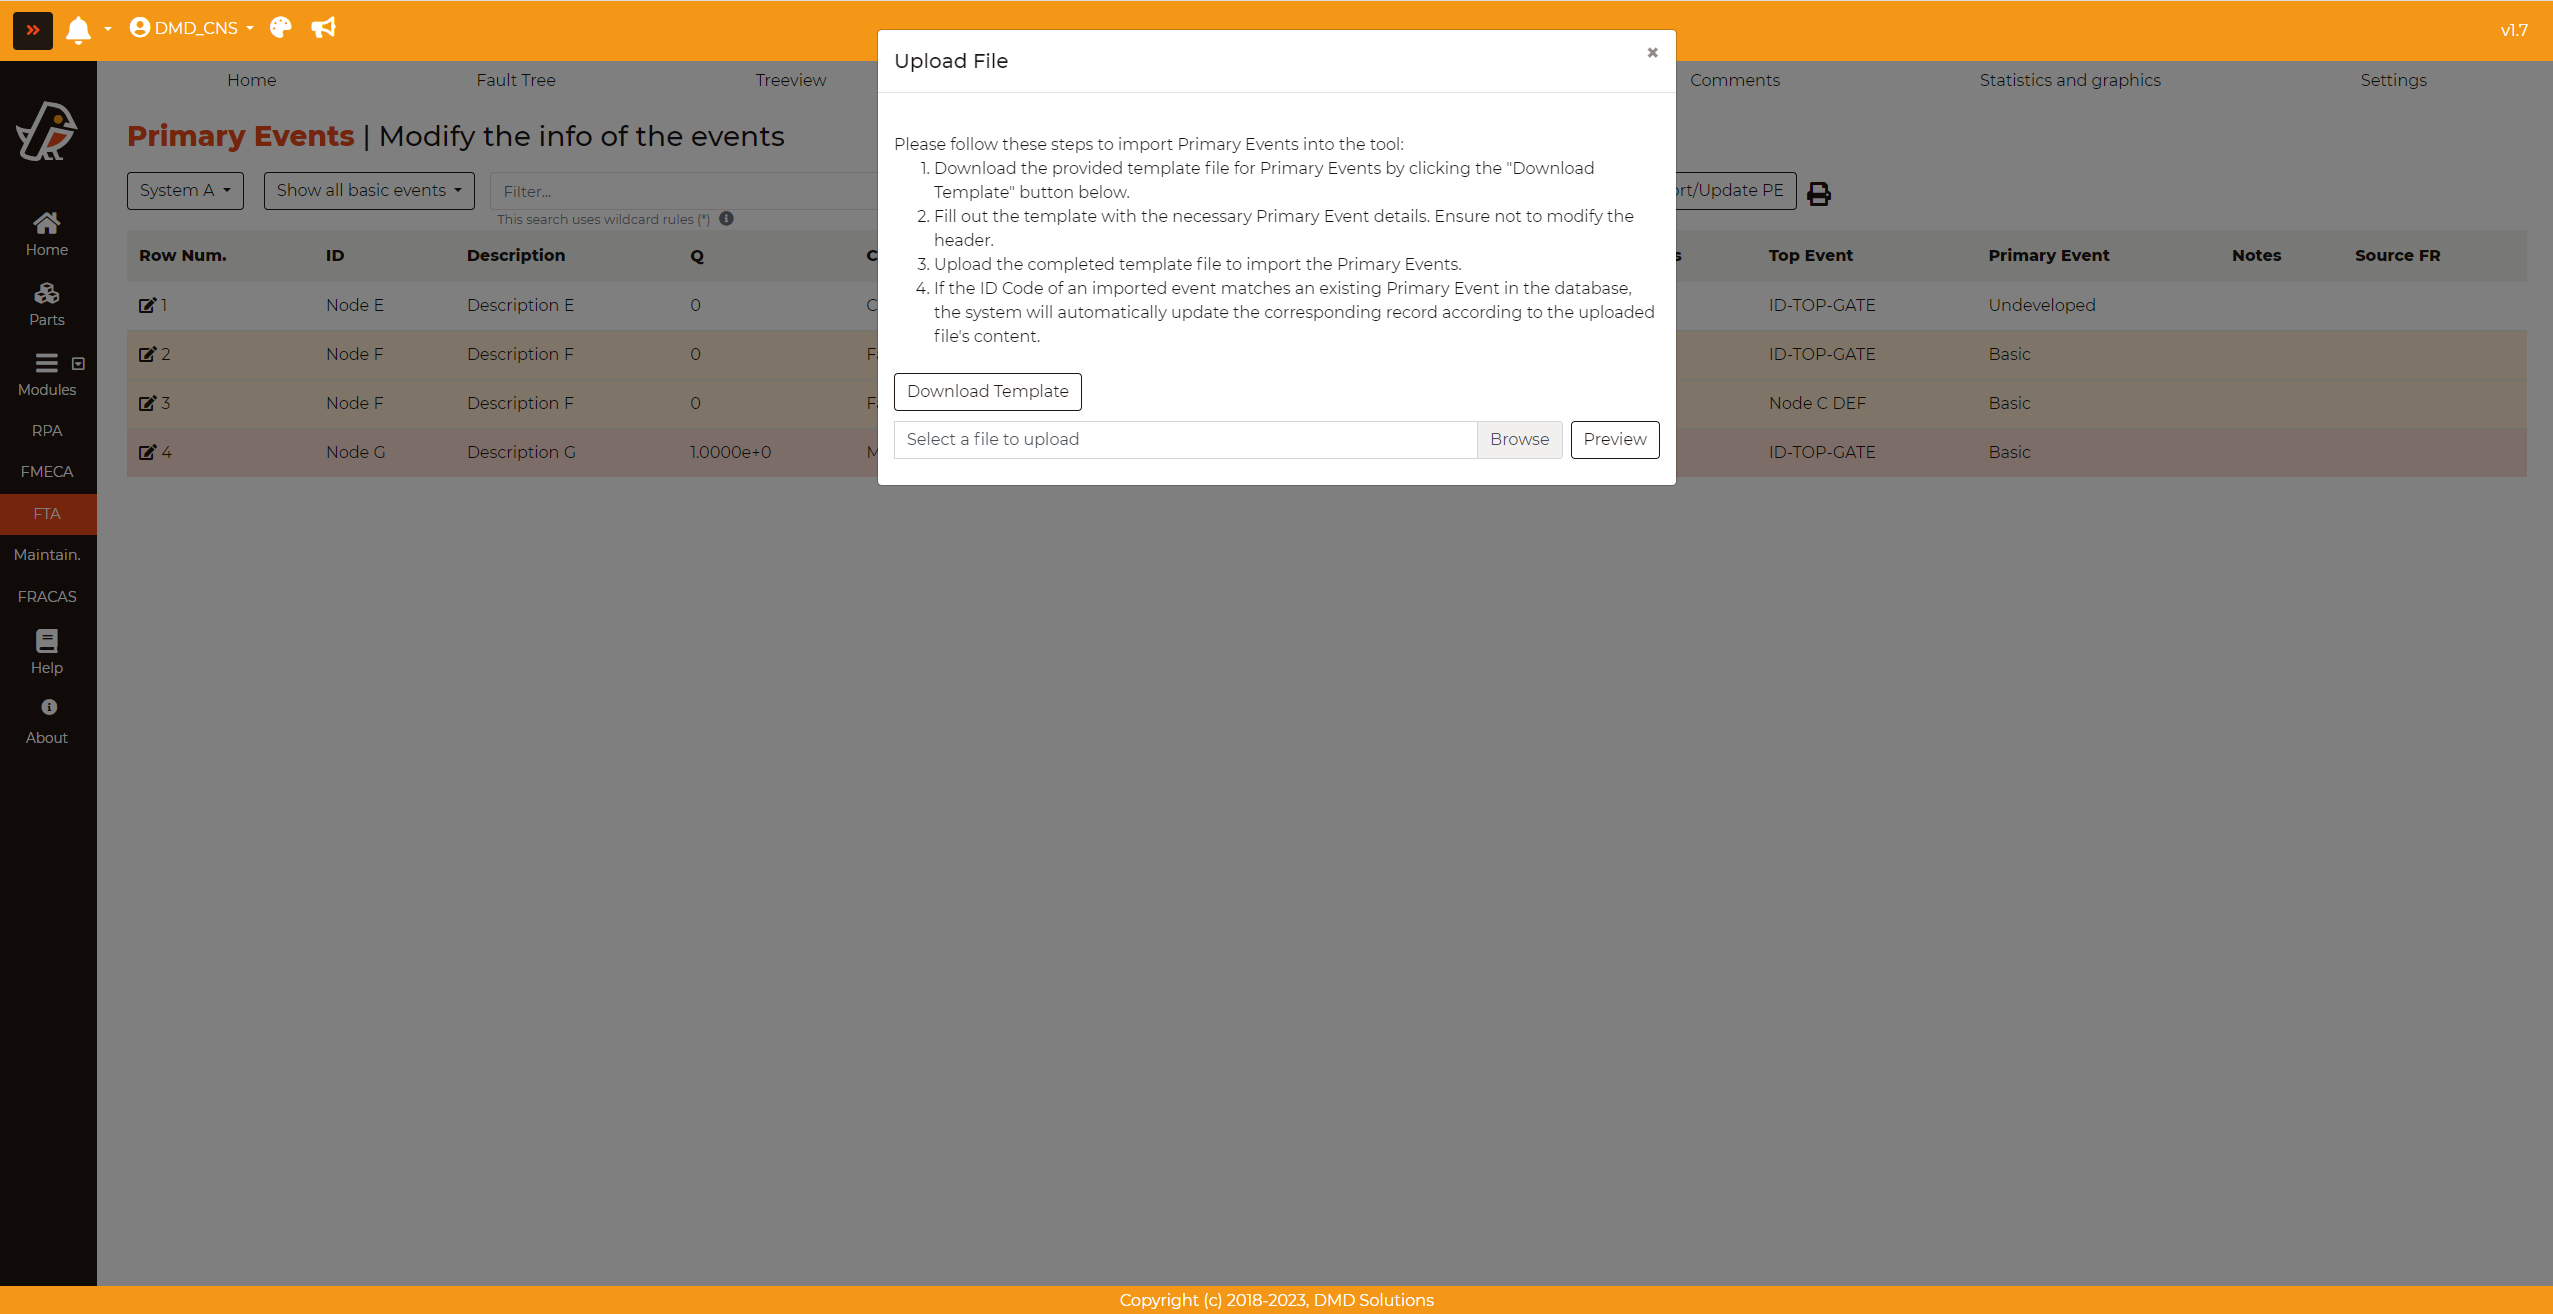
When user clicks on Import/Update BE button, a modal will appear as the picture below. Import and update primary events can be done through an excel file. The events are imported in the system chosen in the modal, among the checked ones, and the Download Template button downloads the template of that system.
The Print icon exports the primary events of the table to a PDF or an Excel file. With several systems checked, the file includes the events of all of them.
The table displays the following columns:
Row. Num.: The number of the row. This column contains the Edit button which enables the change of different parameters of the selected event, and the Delete button (see Delete a Primary Event).
ID: Shows the primary event ID.
Description: Shows the primary event description.
Q: Shows the primary event Unavailability.
Calculation Model: Shows the type of calculation model used in the event (Constant probability, Failure Rate or MTBF).
Dormancy (h): Shows the dormancy (dormant events) or the life time (hidden events) in hours. The value will be shown only if the event is dormant or hidden, otherwise “—” will be shown.
FR/MTBF: Shows the FR/MTBF only if the event is not has not a constant probability.
Repeats: Shows the number of repetitions of an event within the same fault tree.
Top Event: Shows the primary event’s top event ID. It is useful when displaying the basic events of all the different fault trees.
Primary Event: Shows the type of primary event, Basic or Undeveloped.
Notes: Shows the notes written by the user. This field only can be seen in this page.
Source FR: Shows the source of failure rate written by the user.
Edit a Primary Event
To edit a primary event, click on the Edit icon. The row will change as shown in the picture below.
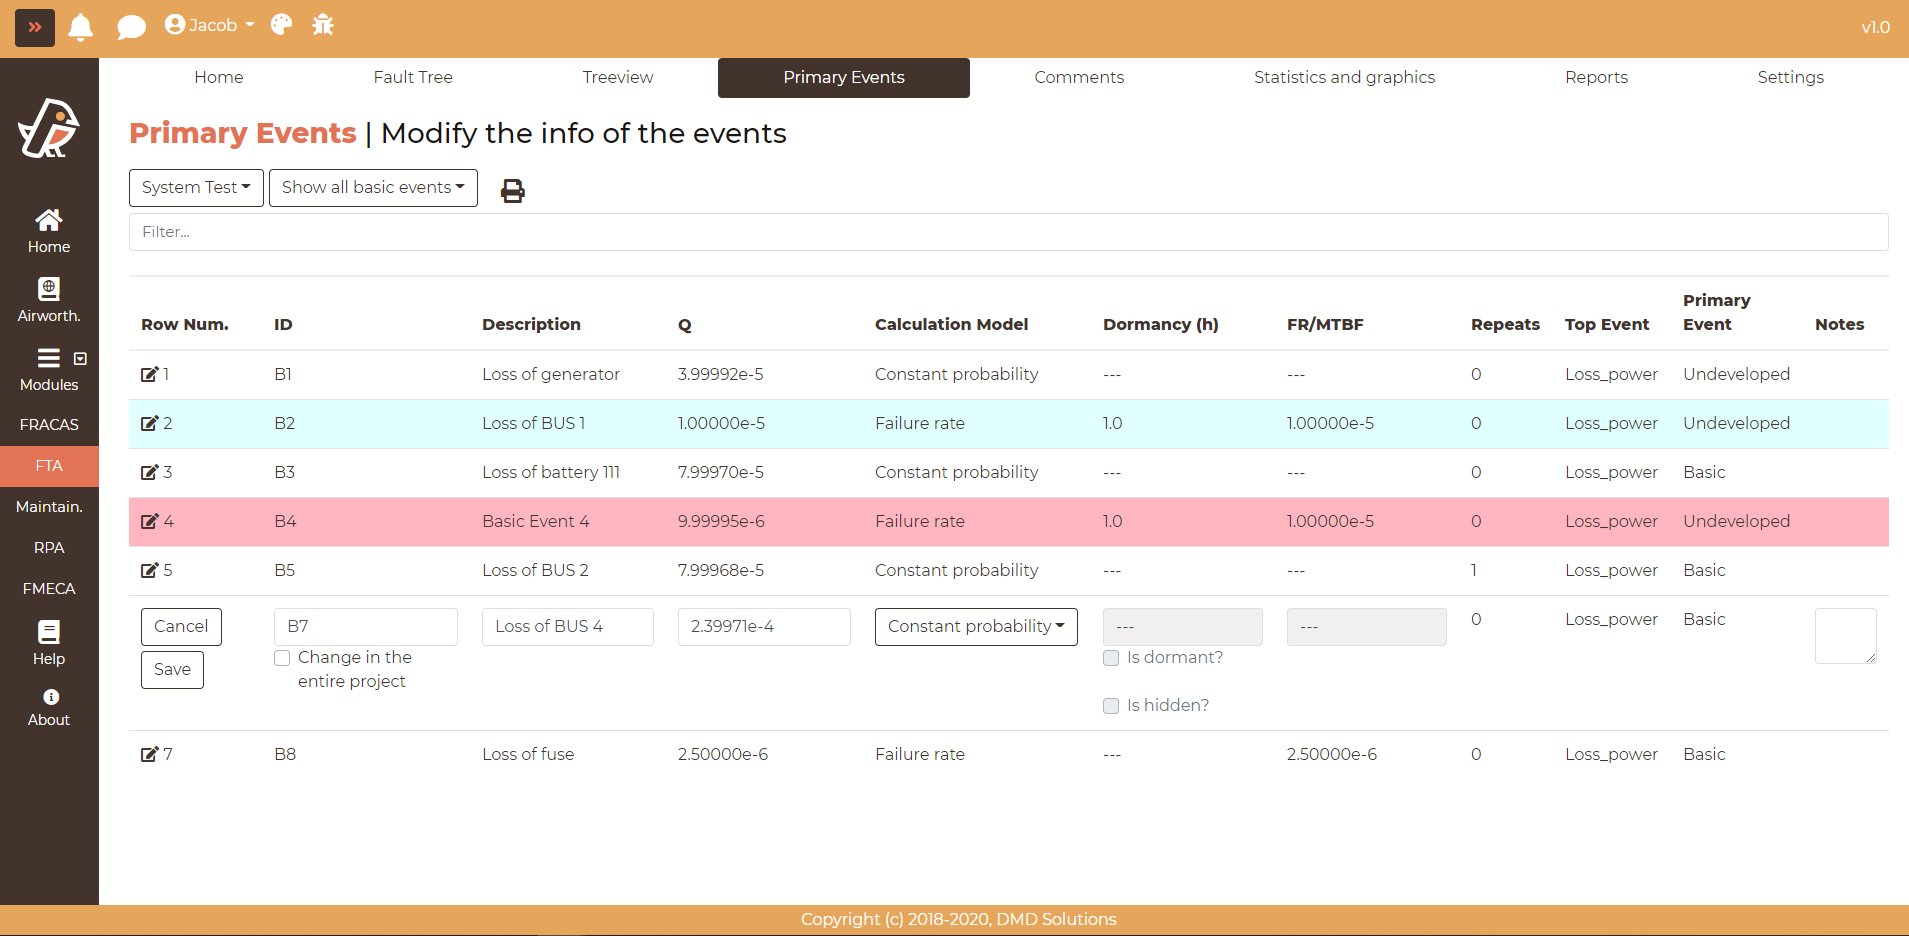
In this page, the user can change the ID, the description the calculation model, set the event as dormant or hidden, add a note…
The changes will be correctly propagated in all the nodes of the system.
Unused Events Filter
A primary event is unused when it does not belong to any fault tree of the project: no node with its ID hangs from a top event, in this system or in any other system of the same project. This happens, for instance, with the events that are imported but never placed in a tree, or with the ones that are left behind when a branch is removed from the diagram.
The Unused events switch, next to the Filter button, shows only those events. It is off by default: when the page is opened, the table lists every primary event of the checked systems. Turn the switch on to see only the unused ones.
The switch works together with the keyword filter and with the
Ungrouped/Grouped BEoptions.The state of the switch is kept in the address of the page, so it stays as it is when the page is refreshed or when other systems are checked.
The filter only applies when
Show all basic eventsis selected. When a single fault tree is selected, all its events are used, so the switch is shown off and greyed out, it cannot be turned on, and the table shows every event of the tree. SelectingShow all basic eventsagain brings the switch back as it was.
The unused events are exactly the ones that can be deleted (see below).
Delete a Primary Event
To delete a primary event, click on the Delete icon below the Edit icon of its row. This option requires the delete permission of the FTA module.
Only the unused events can be deleted. The icon is shown faded for the events that belong to a fault tree; clicking on it shows the fault trees where the event is used.
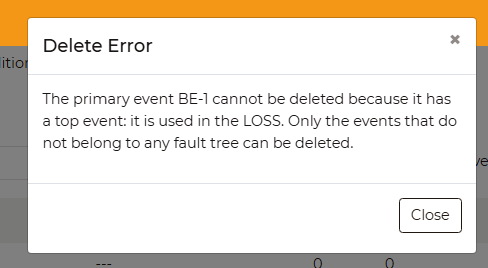
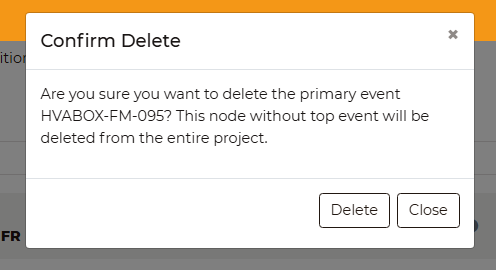
For an unused event, a confirmation is asked before deleting it. The event is deleted from the whole project: every primary event of the project with the same ID is deleted, in all its systems. This cannot be undone.